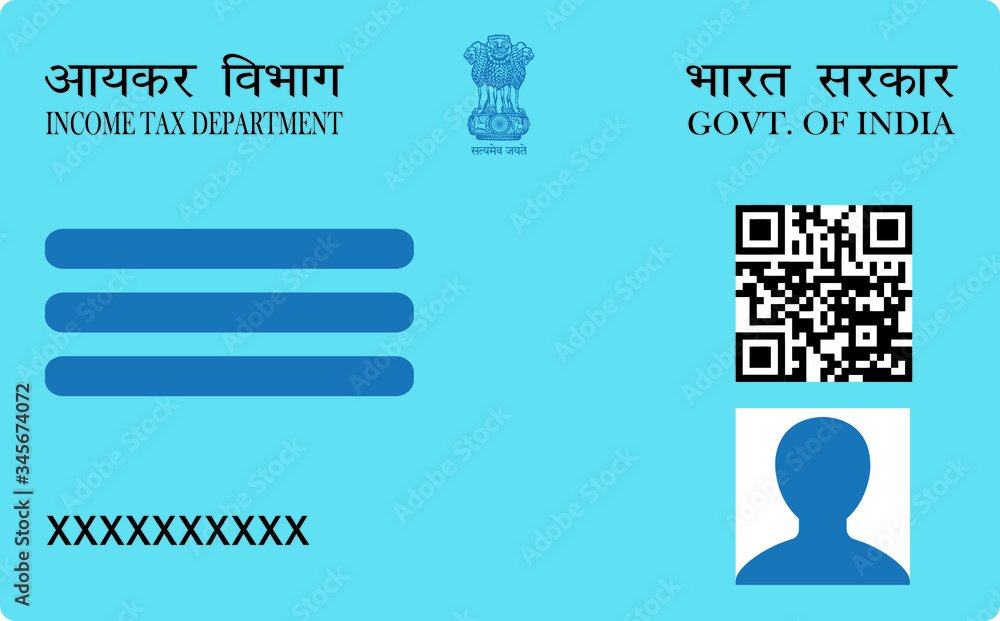
PAN Card Photo Resize for UTI & NSDL – Free Online Tool
Your PAN card application photo must be a JPEG under 50 KB with a white background, sized to passport-photo proportions. Both UTI (utiitsl.com) and NSDL (www.protean-tinpan.com) use the same file requirements. If your photo is larger than 50 KB or the wrong dimensions, the portal will reject it during upload — and the error message it shows is often misleading about the actual cause.
Use the free PAN card photo resizer tool to resize and compress your photo to the exact size required. The tool runs entirely in your browser — your photo is never uploaded to any server.
UTI and NSDL PAN Card Photo Requirements at a Glance
| Requirement | UTI (utiitsl.com) | NSDL (nsdl.com) |
|---|---|---|
| Photo format | JPEG / JPG | JPEG / JPG |
| Photo file size | Max 50 KB | Max 50 KB |
| Photo dimensions | 3.5 cm × 4.5 cm (passport size) | 3.5 cm × 4.5 cm (passport size) |
| Background | White | White |
| Signature format | JPEG / JPG | JPEG / JPG |
| Signature file size | Max 20 KB | Max 20 KB |
| Colour mode | RGB (not CMYK) | RGB (not CMYK) |
Both portals share these requirements because UTI and NSDL operate as authorised PAN service agencies under the same Income Tax Department framework — so their digital submission systems were built to identical specifications.
Why “File Too Large” Is Often the Wrong Error
Here’s something most guides don’t mention: UTI and NSDL portals validate your photo in a specific order — dimensions first, then file size, then colour mode. If your photo fails dimension validation, the portal may still display a generic “file size exceeded” or “invalid file” error because the dimension check triggers the upload rejection before the KB check even runs.
This means you can compress your photo to 30 KB and still get rejected — because it’s the wrong pixel ratio, not the wrong file size. Before compressing, always crop your photo to passport proportions (roughly 3:4 width-to-height) first. The PAN card resizer handles both cropping and compression in one step, which is why it avoids this failure mode entirely.
How to Resize Your PAN Card Photo Using the Free Tool
- Open the tool. Go to pancardphotoresizer.in. You’ll see two options: UTI and NSDL. Select the portal you’re applying through.
- Upload your photo. Click “Select File” or drag your photo onto the upload area. Accepted formats: JPG, JPEG, PNG. If your photo is a PDF or HEIC file, convert it to JPG first using your phone’s share menu or a file converter.
- Crop to passport size. The tool shows a crop overlay. Adjust it so your face is centred with a small margin above your head. The crop enforces the correct 3.5 × 4.5 cm ratio automatically.
- Select UTI or NSDL requirements. The tool targets the correct KB limit for whichever portal you chose — 50 KB for the photo, 20 KB for the signature.
- Download. Click Download. Your resized photo saves as a JPEG ready to upload directly to the application form.
- Repeat for signature. Switch to the signature tab, upload a scan or photo of your signature on white paper, and download the resized version.
Three Mistakes That Cause Silent Rejection
1. CMYK colour mode. Photos taken on a phone are always RGB — fine. But if you edit your photo in Photoshop or Illustrator and save it, those apps sometimes default to CMYK. The portal accepts the file but the photo renders incorrectly on the printed PAN card. Always check that your JPEG is in RGB mode before uploading.
2. Off-white or grey background. A background that looks white on your phone screen may actually be a pale grey (#f0f0f0), especially on Android cameras with auto-exposure. Portals process photos against a white baseline during printing. If your background isn’t pure or near-pure white, ask a photo studio to reshoot, or use the background removal option if your tool supports it.
3. Resizing without cropping first. Compressing a landscape-orientation selfie to under 50 KB will produce a rejected upload — not because of file size but because the portrait-photo dimension requirement fails. Always crop to portrait ratio before compressing.
Resizing Your Signature for PAN Card Upload
The signature requirements are stricter than the photo in one respect: the background must be pure white with no ruled lines from notebook paper visible. Sign on a blank white sheet of A4 paper using a black or dark blue pen. Photograph it in good light to avoid shadows.
The signature must be under 20 KB — tighter than the 50 KB limit for photos. A signature scanned at high resolution can easily hit 300–400 KB. The signature resize option on the same tool brings it down to the right size without making the signature look pixelated, because JPEG compression works efficiently on high-contrast black-on-white images.
Frequently Asked Questions
What is the exact photo size for PAN card in KB?
Your PAN card photo must be under 50 KB in JPEG format for both UTI and NSDL portals. Your signature must be under 20 KB in JPEG format. These are the maximum limits — smaller files within these limits are accepted.
Can I use a PNG file for PAN card photo upload?
No. Both UTI and NSDL require JPEG (JPG) format. If your photo is a PNG, convert it to JPG before uploading. The pancardphotoresizer.in tool accepts PNG and automatically outputs a JPEG, so you don’t need a separate converter.
My photo is already under 50 KB but the portal still rejects it — why?
The most likely cause is incorrect dimensions or colour mode, not file size. The portal validates pixel dimensions before checking KB size. Crop your photo to passport proportions (roughly 3:4 ratio, portrait orientation) and confirm it’s saved in RGB colour mode, then try again.
Is the photo requirement the same for a new PAN card and a correction application?
Yes. Whether you’re applying for a new PAN, correcting details, or requesting a reprint, the photo and signature upload requirements are the same: JPEG, max 50 KB for photo, max 20 KB for signature, white background, passport proportions.
Can I use the same resized photo for both UTI and NSDL?
Yes. Because both portals use identical file requirements, a photo resized to under 50 KB in JPEG format with the correct dimensions works for both. You don’t need to resize separately for each portal.
If you run into upload errors after following these steps, the most reliable fix is to start fresh — take a new photo against a plain white wall in good natural light, and run it through the tool without any editing beforehand. Pre-edited photos carry embedded metadata and colour profiles that occasionally cause portal-level validation errors that have nothing to do with size or dimensions.